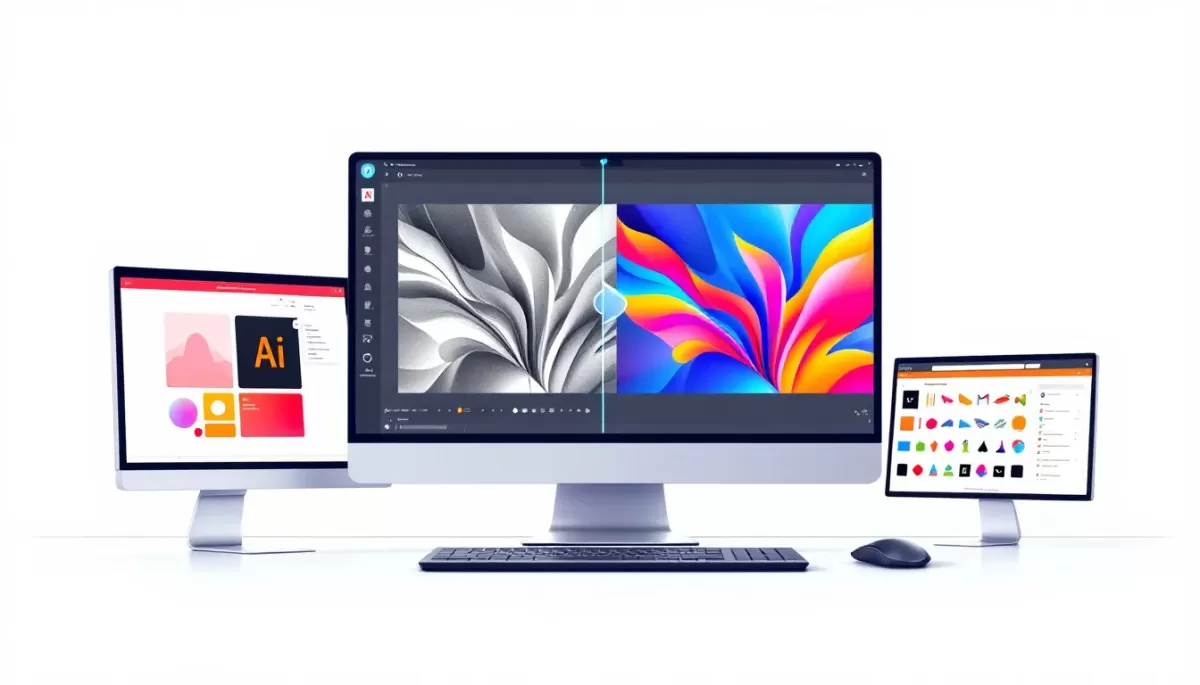
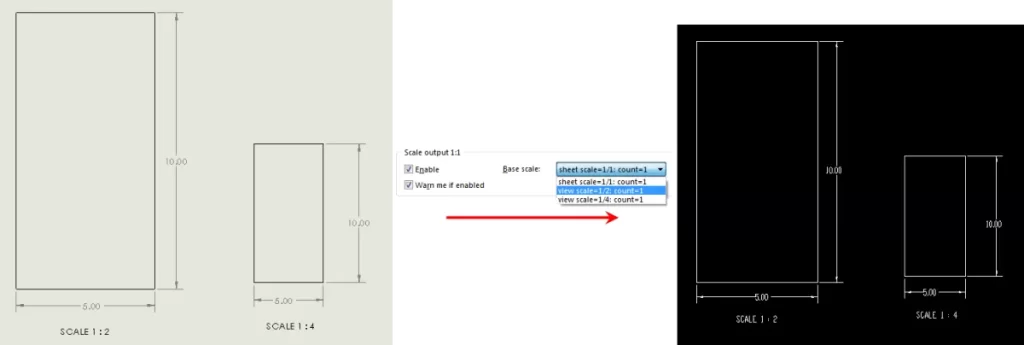
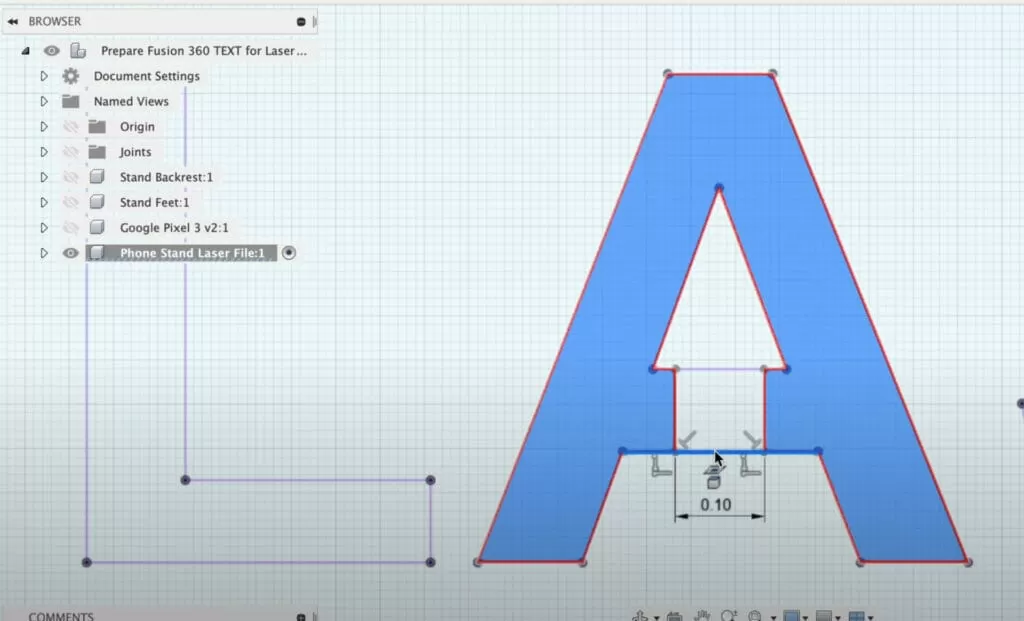
Are you struggling to prepare your designs for laser cutting? Converting raster to vector in Illustrator can seem daunting, but it’s a game-changer for creating precise, scalable designs. As experts in CNC laser cutting, HYCNC knows that clean vector files are the key to flawless cuts. With our real-world experience, we’re here to guide you beyond the basics. In this guide, you’ll master the raster to vector process using Adobe Illustrator, learn tips to optimize your files, and avoid common mistakes that could derail your project. Whether you’re a DIYer or a small business owner, we’ll show you how to create laser-ready designs with ease. Ready to transform your ideas into reality? Let’s dive in!
Understanding Raster vs Vector for Laser Cutting
If you’re new to laser cutting, you might wonder why the type of image file matters. The key difference lies in raster vs vector graphics. Raster images, like JPEGs or PNGs, are made of tiny pixels. When you zoom in or try to scale them, they become blurry or pixelated. This is a problem for laser cutting because the machine needs clean, precise paths to follow.
Vector files, on the other hand, use mathematical paths instead of pixels. These paths are sharp and scalable, which means your design stays crisp no matter the size. Vector files are essential for creating smooth, accurate cuts and engravings on your material.
In simple terms:
- Raster images = pixel-based, not ideal for laser cutting
- Vector images = path-based, perfect for laser cutting
Understanding this difference is the first step to turning your designs into flawless laser cuts.
Preparing Your Raster Image for Conversion
Before you start converting your raster image to vector in Illustrator, it’s important to get your file ready. Laser cutting needs clean, clear designs, so start with a high-resolution raster image like a JPEG or PNG. The higher the resolution, the better the Adobe Illustrator Image Trace results will be.
Here’s what to do before conversion:
- Clean up the image: Remove any background noise or unnecessary details that could confuse the tracing process. Use basic photo editing tools to brighten, increase contrast, or crop the image if needed.
- Convert to black and white: For laser cutting, simple black and white images work best because they create sharp vector paths. You can do this easily in Photoshop or Illustrator before tracing.
- Make sure the image is simple: Complex images with lots of colors or gradients don’t convert well. Simplify your design by focusing on clear outlines and solid shapes.
- Use a high-res scan or digital file: If you’re working from a physical drawing, scan it at a minimum of 300 DPI to ensure the best quality for vector conversion.
Preparing your raster image right saves time and avoids headaches when you move on to converting and optimizing your vector file for laser cutting.
Step-by-Step Guide to Convert Raster to Vector in Illustrator
Step 1 Import the Raster Image
Open Adobe Illustrator and import your high-resolution raster image (like JPEG or PNG) by going to File > Place. Choose the image you want to convert for laser cutting.
Step 2 Use Image Trace
Select the imported raster image. Then, click Window > Image Trace to open the Image Trace panel. Choose a preset that fits your design—usually, Black and White Logo works well for laser cutting files. Adjust the threshold and settings to get a clean trace of your design.
Step 3 Expand the Trace
Once you’re happy with the trace, click Expand on the top toolbar. This converts the traced image into editable vector paths, which are crucial for CNC and laser cutting.
Step 4 Simplify Vector Paths
Laser cutting machines prefer simple vector lines. Use Object > Path > Simplify in Illustrator to reduce unnecessary points while keeping the shape accurate. This helps avoid slow or rough cuts and ensures smooth execution.
Step 5 Save as a Laser Cutting Compatible Format
Save your file as an SVG, DXF, or AI format—these are widely accepted by laser cutters. Go to File > Save As, then select the format that matches your laser cutter’s requirements. This optimized vector file is ready to be imported into your CNC laser cutting software.
Optimizing Your Vector File for Laser Cutting
Once you’ve converted your raster image to vector in Illustrator, the next step is to optimize the vector file for laser cutting. This ensures the cutting machine reads your design correctly and cuts with precision.
Here’s how to optimize your vector file:
- Clean up unnecessary paths: Remove any stray points or overlapping lines that could confuse the laser cutter.
- Simplify vector paths: Use Illustrator’s “Simplify” tool to reduce complex paths without losing detail. This minimizes cutting time and wear on the machine.
- Use consistent stroke weights: Set all cut lines to a uniform stroke weight (usually hairline or 0.001 inches). This signals the laser where to cut rather than engrave.
- Convert strokes to outlines: For some designs, outlining strokes ensures the laser interprets your design as a shape rather than a line.
- Check for open paths: Make sure all paths are closed if needed, especially for engraving or when cutting shapes.
- Use appropriate color coding: If your laser cutter software requires it, assign specific colors to differentiate cut lines from engravings.
- Save in the right format: Export your file in a laser cutting compatible format like SVG, DXF, or PDF.
Keeping these points in check means a smoother cutting process and better results every time. For more on prepping your design files, our guide on designing for laser cutting in Illustrator.
Common Mistakes to Avoid
When converting raster to vector in Illustrator for laser cutting, avoid these common pitfalls:
-
Using Low-Resolution Images
Low-res images make tracing messy and inaccurate. Always start with a high-resolution raster for tracing to get clean vector paths.
-
Overcomplicating Vector Paths
Too many paths can slow down your laser cutter and cause errors. Simplify vector paths in Illustrator to keep the design smooth and efficient.
-
Ignoring File Compatibility
Not all file types work well with laser cutters. Save your vector file in a laser cutting compatible format like SVG or AI to avoid problems.
-
Skipping Cleanup After Trace
After using Adobe Illustrator Image Trace, don’t skip expanding and cleaning up the vector. Unwanted shapes or stray points can mess up your cut.
-
Relying Solely on Auto Trace Settings
Image Trace is handy, but default settings might not fit every design. Tweak the threshold and paths settings for the best results.
-
Not Checking for Closed Paths
Laser cutters need closed vector paths to cut properly. Always check and close any open paths before sending your file.
Avoiding these mistakes will save time, material, and frustration when preparing your files for laser cutting.
Why Choose HYCNC for Your Laser Cutting Needs
When it comes to laser cutting, you want precision, reliability, and quick turnaround—and that’s exactly what HYCNC delivers. We specialize in converting your vector files into clean, accurate cuts that match your design perfectly. Whether you’re sending us SVG files, DXF, or AI formats, we make sure your vector files for laser cutting are optimized and ready to go.
Here’s why HYCNC stands out:
- Expert CNC Machining Services tailored to fit your project’s unique requirements.
- State-of-the-Art Laser Cutting Equipment that handles detailed designs with crisp edges.
- Fast and Reliable Turnaround Times so your projects stay on schedule.
- High-Quality Material Options ensuring durability for your finished product.
- Personalized Support – we work closely with you to optimize your files and troubleshoot any issues.
- Competitive Pricing for both small runs and large orders, perfect for local businesses or DIY enthusiasts.
Choosing HYCNC means you’re partnering with a trusted CNC service provider that understands laser cutting design tips and the importance of properly prepared files. We simplify your workflow from raster to vector conversion to finished product, making sure your laser cutting experience is smooth and successful every time.
FAQ Section
What is raster to vector conversion in Illustrator?
It’s the process of turning a pixel-based image (like a JPEG or PNG) into a clean, scalable vector file using Adobe Illustrator’s Image Trace feature. This makes your design perfect for laser cutting.
Why do I need to convert raster images to vector for laser cutting?
Laser cutters follow paths, not pixels. Vector files give the cutter precise lines and shapes, resulting in a clean cut without jagged edges.
What file formats work best for laser cutting?
After converting your raster to vector, save your design as SVG, AI, EPS, or PDF. These formats keep your paths sharp and compatible with most CNC and laser cutting machines.
Can I use low-resolution images for vector conversion?
It’s best to use high-resolution raster images. The clearer the original, the better Illustrator can trace and create clean vectors suitable for cutting.
How do I simplify vector paths in Illustrator?
Use the “Simplify” tool to reduce unnecessary anchor points. This makes your design easier to work with and prevents issues during laser cutting.
Is Adobe Illustrator the only software for raster to vector conversion?
No, but it one of the most popular and reliable. Other options exist but Illustrator is widely used in the US for preparing files for CNC and laser cutting.
Do I need special settings in Illustrator for laser cutting files?
Just make sure your lines are set to the correct stroke weight (usually hairline or 0.001 inches) and use closed paths for cutting areas. Also, remove any fills if needed.
Why choose HYCNC for laser cutting?
We specialize in turning your vector files into precision cuts with fast turnaround and attention to detail, all tailored to fit local business needs across the US.
If you have more questions about preparing your laser cutting files or raster to vector conversion, feel free to reach out!

