Understanding Rhino3D and DXF Files
What is Rhino3D
Rhino3D, or simply Rhino, is a powerful 3D modeling software widely used in design, engineering, and manufacturing. It lets you create detailed and complex 3D models with precision. Rhino is popular because it supports a wide range of file formats, offers flexible tools for freeform shapes, and is accessible for beginners and pros alike. Whether you’re designing parts for CNC machining, architectural components, or product prototypes, Rhino gives you the control to bring your ideas to life.
What is a DXF File
DXF stands for Drawing Exchange Format. It’s a widely accepted 2D and 3D CAD file type developed by Autodesk to enable easy sharing of design data between different software. Most CNC machines and laser cutters accept DXF files as input because they define paths, shapes, and outlines clearly and accurately. They typically contain vector information like lines, polylines, arcs, and curves, making them essential for translating digital designs into physical products.
Common Use Cases
You might be wondering why you’d export Rhino3D files to DXF. Here are some typical scenarios:
- CNC machining: DXF files serve as blueprints for cutting, milling, or engraving parts on CNC machines.
- Laser cutting and engraving: Designers send DXF files for precise laser paths.
- Sheet metal fabrication: DXF files allow fabricators to cut flat patterns before bending.
- Collaborating with manufacturers: DXF is a universal language easing file sharing between different CAD and CAM software.
- 2D documentation: Exporting 2D views from Rhino3D models for technical drawings or schematics.
Understanding these basics will help set the stage for preparing your Rhino model properly before exporting and minimizing errors during production. If you want to dive deeper into CAD-to-CNC workflows, check out our Prepare Rhino3D files for CNC guide for real-world examples.
Preparing Your Rhino3D Model for DXF Export
Before exporting your Rhino3D file to DXF, it’s important to get your model ready to avoid issues later on. Here’s how to set up your workspace, clean your geometry, and check scale and units.
Set Up Your Workspace
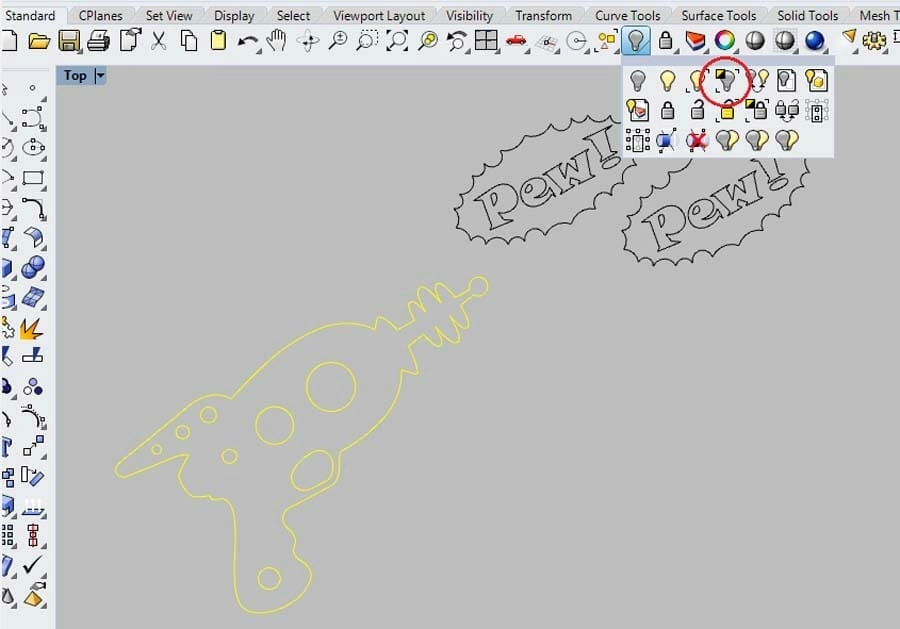
Start by organizing your Rhino3D workspace to focus on the parts you want to export. Turn off any unnecessary layers or objects that won’t be part of the DXF export. This keeps your file clean and reduces confusion.
- Use layer visibility controls to hide irrelevant details
- Freeze layers that aren’t needed for export
- Make sure your main geometry is easy to select and work with
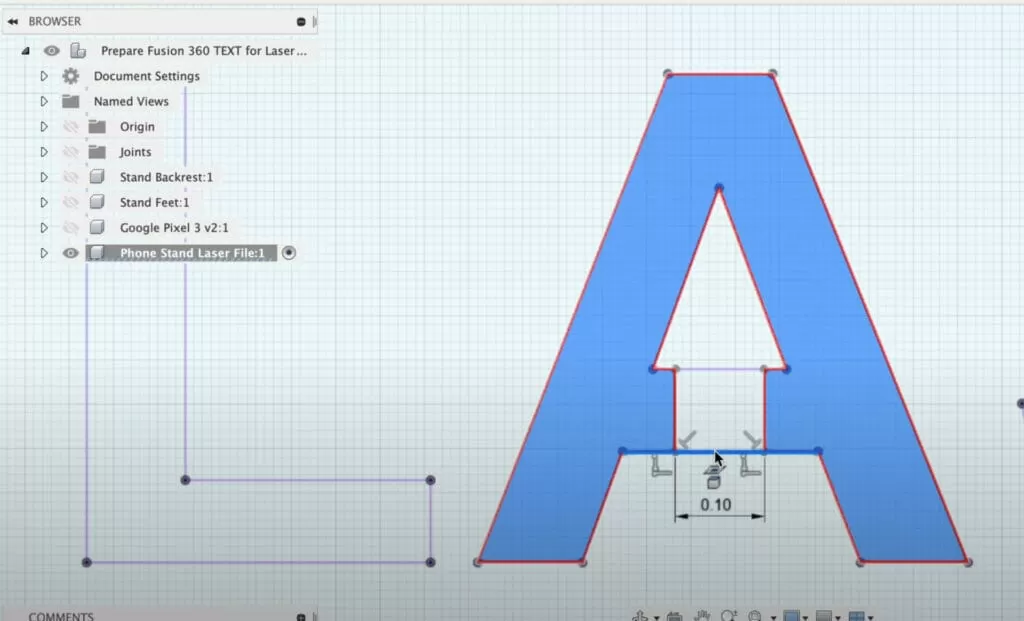
Clean and Organize Geometry
DXF files work best with clean, simple geometry. Before exporting, check that your model is free of extra points, overlapping lines, or duplicated objects.
- Delete stray points and unused curves
- Join lines and curves where possible for smoother paths
- Simplify complex curves if your CNC machine prefers straight lines over splines
- Use Rhino’s “Reduce” or “Simplify” commands to minimize nodes (see our guide on how to reduce nodes in Rhino3D)
- Ensure all geometry is 2D or planar if you’re creating DXF for CNC or laser cutting since DXF is mainly a 2D format
Scale and Units
Matching the right scale and units between Rhino3D and your CNC service like HYCNC is critical. A mismatch can cause parts to come out too big or small.
- Check your Rhino model units under File > Properties > Units
- Set them to match your CNC machining requirements, usually inches or millimeters
- Use Rhino’s Scale tool if you need to resize the entire model before exporting
- Double-check dimensions with the Distance tool to make sure key features are correctly sized
Proper preparation helps make your Rhino3D DXF export smooth and ready for precise CNC machining at HYCNC. Next, I’ll walk you through the export steps so your file is flawless from start to finish.
Step by Step Guide to Exporting Rhino3D to DXF
Exporting your Rhino3D model to a DXF file is straightforward if you follow these steps carefully.
Select Geometry
Start by selecting the parts of your model that you want to export. You can choose individual curves, surfaces, or the entire model. Make sure you only select the geometry needed for your CNC machining to keep the file clean and efficient.
Access Export Settings
Once your geometry is selected, go to the File menu and choose Export Selected. This opens the export dialog where you can select the file type. Choose *DXF (.dxf)** from the list. This ensures you’re exporting in the proper format for CNC applications and laser cutting.
Configure DXF Export Options
After selecting DXF, Rhino3D will prompt you with export options:
- Version: Choose a DXF version compatible with your CNC software (commonly AutoCAD 2000 or newer).
- Export geometry only: Select curves or edges depending on your needs.
- Scaling: Confirm that units match your project (inches or millimeters).
- Layer settings: You can choose to export layers if your CNC workflow benefits from layer separation.
Adjust these settings carefully to meet HYCNC’s file requirements and ensure smooth processing.
Save and Verify
Save your DXF file with a clear and descriptive name. After saving, open the file in a DXF viewer or CNC software to double-check that all geometry, layers, and scales are correct. This step avoids surprises when sending the file to HYCNC for manufacturing.
HYCNCs File Requirements
To streamline the CNC machining process at HYCNC, keep these important points in mind:
- Use clean, closed curves without gaps or overlaps.
- Maintain proper scale and units as specified for your project.
- Organize layers logically for easy identification in machining.
- Avoid complex 3D geometry; export 2D outlines unless specifically requested.
Following these tips reduces delays and ensures HYCNC can quickly prepare your parts for production.
For more tips on preparing Rhino files for CNC, check out our detailed guide on preparing L brackets in Rhino3D.
Troubleshooting Common DXF Export Issues
When exporting Rhino3D files to DXF for CNC machining, a few problems can pop up. Here’s how to tackle the most common ones, especially when working with HYCNC.
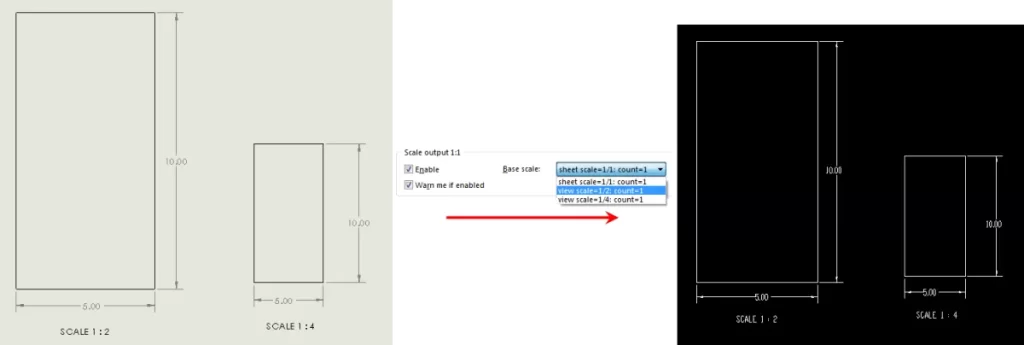
Scaling Problems
One of the biggest headaches is getting the scale wrong. Make sure your Rhino3D model uses the correct units before exporting. Always double-check the units in both Rhino and your CNC software. If the part looks too big or too small, revisit your export settings and confirm you’re exporting with the intended scale.
Missing or Incorrect Geometry
Sometimes, lines, curves, or shapes don’t show up in the DXF file. This usually happens if parts of your model are on locked or hidden layers, or if you’re exporting the wrong geometry type.
- Unhide and unlock all layers you want to export.
- Clean up your model by joining curves or exploding complex surfaces to simple geometry.
- Use Rhino’s “SelBadObjects” command to find corrupted geometry that might cause export errors.
CNC Software Compatibility
Not all CNC programs read DXF files the same way. Some might struggle with certain curve types or layer structures. To avoid this:
- Keep your DXF export format simple (usually AutoCAD DXF R12 or 2013 versions work best).
- Ask HYCNC about their preferred DXF settings and file version.
- Test your exported file in your CNC software before final submission.
HYCNC Preflight Checklist
Before sending your DXF file to HYCNC, verify these items to avoid delays:
- Confirm units match HYCNC’s requirements (usually inches or millimeters).
- Ensure all necessary geometry is visible and on the correct layers.
- Check the file for closed curves and no self-intersections if your machining requires it.
- Save a backup copy before the final export.
- Label your layers clearly to help HYCNC understand your design intent.
Following these quick checks can save you time and keep your CNC machining run smooth with HYCNC services.
Tips for Optimizing DXF Files for HYCNCs CNC Services
When preparing your Rhino3D DXF files for HYCNC’s CNC services, a few simple steps can save you time and ensure your job runs smoothly.
Layer Management
- Organize your layers clearly: Separate different parts or operations (cutting, engraving) into distinct layers.
- Name layers descriptively: Use straightforward names like “Cutting,” “Engraving,” or “Drilling” so HYCNC can quickly understand your file.
- Turn off unnecessary layers: Hide or delete any layers not needed for machining to avoid confusion.
- Match layer colors to operations: This helps CNC operators visually confirm the right process for each part.
File Verification
- Check geometry accuracy: Make sure all lines are closed and curves are clean; gaps can cause problems in CNC cutting.
- Confirm scale and units: Double-check your model uses the correct units (inches or millimeters) as required by HYCNC’s specs.
- Preview your file in a DXF viewer: This helps catch missing details or unexpected elements before sending it off.
- Run a test import if possible: Import your DXF back into Rhino3D or another CAD program to verify everything looks right.
Collaborate with HYCNC
- Communicate your expectations clearly: Share notes about material, cutting depth, and priorities.
- Ask about HYCNC’s specific DXF requirements: They may have preferences for file format versions or layer setups that make processing easier.
- Send sample files for feedback: If you’re unsure about your export settings, HYCNC can usually review and provide pointers.
- Keep open lines for questions: Quick clarifications can prevent costly mistakes and delays.
Following these tips will help you create DXF files that fit HYCNC’s workflow better, speeding up your CNC machining projects and improving the final results.
FAQs
How do I export Rhino3D files to DXF for CNC machining?
Start by cleaning your model and setting the correct units in Rhino3D. Select the geometry you want, then use the Export command and choose DXF as the file type. Adjust the DXF export settings to match your CNC requirements before saving.
Can I use DXF files from Rhino3D for laser cutting?
Yes, DXF files are widely accepted for laser cutting. Just make sure your geometry is clean, closed, and properly layered to avoid issues during cutting.
What settings should I use when exporting DXF from Rhino3D?
Use the recommended DXF version (usually R12 or later), keep scale consistent, and check that layers and line types are preserved. Avoid exploded blocks unless your CNC software specifically prefers them.
Why is some geometry missing after exporting to DXF?
Missing geometry often results from hidden or locked objects, or unsupported geometry types like meshes instead of curves or polylines. Make sure everything you want is visible and converted to curves or polys before export.
How do I fix scaling issues with DXF files?
Double-check your model units in Rhino3D before export and verify the units your CNC software expects. Consistency between Rhino and the CNC software units solves most scaling headaches.
What does HYCNC require for DXF files?
HYCNC prefers clean, layered vector files with correct units set. They recommend avoiding unnecessary blocks or complex meshes and using 2D curves or polylines. Layer management and file verification are crucial steps.
Is Rhino3D compatible with all CNC software for DXF files?
Most CNC software accepts DXF from Rhino3D, but some may have specific settings or supported versions. Always test your file and consult your CNC service, like HYCNC, for their specific requirements.
Can I edit DXF files after exporting from Rhino3D?
Yes, DXF files can be edited in many CAD programs. However, significant edits might be easier to manage directly in Rhino before exporting to avoid losing design details.
If you have any more questions about exporting Rhino3D to DXF for CNC or laser cutting, feel free to reach out for help.