Why Choose Inkscape for Laser Cutting
If you’re new to laser cutting or looking for reliable design software, Inkscape is a smart choice. It’s free, open-source, and built around vector graphics, which are perfect for laser cutting projects. Unlike raster images, vector files provide the precision and scalability needed for clean, accurate cuts.
Inkscape works across Windows, Mac, and Linux, so no matter your setup, you can create and edit your designs easily. Compared to other popular tools like Adobe Illustrator or LightBurn, Inkscape offers a cost-effective way to get professional results without a subscription fee. While Illustrator is powerful, it can be expensive and complex, and LightBurn is great for laser machine control but less focused on detailed vector design.
What really makes Inkscape a great match for HYCNC laser cutting is its support for key file formats: DXF, EPS, and SVG. These formats are essential for HYCNC’s laser cutters to read your designs accurately. With Inkscape, you can easily save or export your projects in these formats, ensuring your files meet the requirements for smooth processing and hassle-free cutting.
In short, Inkscape combines flexibility, affordability, and the tools you need to create precise laser cutting files that work seamlessly with HYCNC’s services.
Setting Up Your Inkscape Workspace for Laser Cutting
First, download and install Inkscape from the official site at https://inkscape.org. It’s free and works on Windows, Mac, and Linux, so it fits any setup. If you plan to do laser cutting at home and want to generate G-code directly, check out plugins like the J Tech Photonics Laser Tool. This extension makes it easier to convert your designs for home laser machines.
Next, set up your document to match your laser cutter’s bed size. For example, if you’re using HYCNC’s 12 by 20-inch cutting area, configure the canvas to those dimensions. You can do this under File > Document Properties. Here’s what to update:
- Canvas size: Set width and height to match your laser cutter bed.
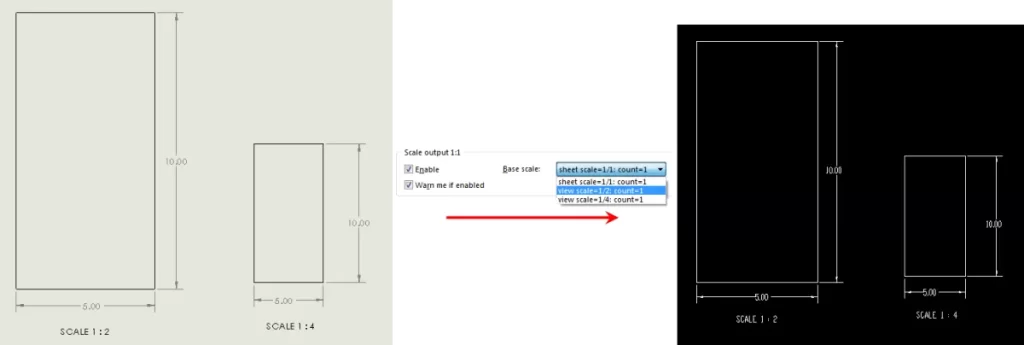
- Units: Choose inches or millimeters so your design matches real-world scale exactly (1:1 scale is key).
- Display units: Adjust these to avoid confusion between what you see and the actual drawing size. This helps prevent scaling issues later when sending files to HYCNC.
Getting these settings right upfront ensures your designs maintain precision and fit perfectly for laser cutting without surprises during production.
Key Design Guidelines for Laser Cutting in Inkscape
When designing for laser cutting in Inkscape, it’s crucial to keep a few key points in mind to get clean, precise cuts.
Understand Material Thickness and Kerf
- Material thickness affects hole size and cut widths. As a rule of thumb, holes should be at least 1.5 times the thickness of your material to avoid weak or burnt edges.
- Kerf is the material burned away by the laser, usually between 0.1 to 0.4 mm. Make sure to factor this in by adjusting your design paths so final dimensions are accurate after cutting.
Create Continuous Vector Paths
- Clean cuts come from closed, continuous vector paths. Open contours can lead to incomplete or messy cuts.
- Use the Edit Paths by Nodes tool (F2) to check and join any open nodes. Simply select nodes close to each other and join them to close gaps.
Avoid Common Design Mistakes
- Remove overlapping shapes by using Boolean operations like Union, Difference, and Exclusion to merge or subtract paths correctly.
- Delete any stray points, duplicate objects, or extra non-cutting elements such as notes or dimensions that can confuse the laser cutter.
- Keep all your design elements on one single layer since HYCNC’s file processing expects this for smooth operations.
Following these guidelines will help ensure that your files are clean and ready for HYCNC’s CNC laser cutting service, avoiding common pitfalls and getting the best results.
Preparing Text for Laser Cutting
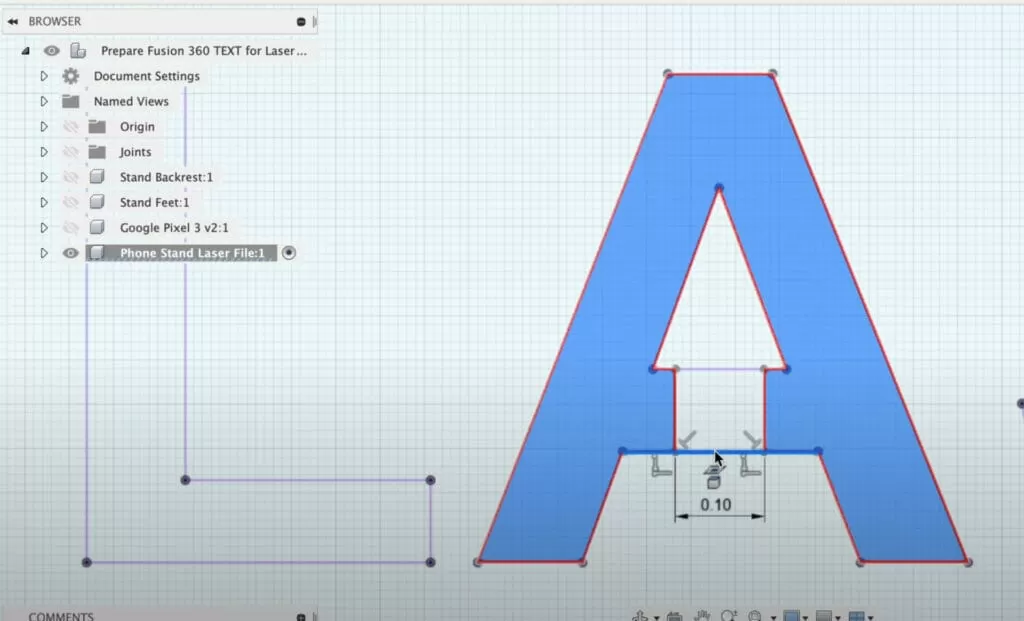
When designing in Inkscape for laser cutting, converting your text to vector paths is a must. Here’s how to do it:
- Select your text.
- Go to Path > Object to Path.
- This turns your text into editable vector shapes.
This step is crucial because HYCNC’s CNC laser cutters read vector shapes, not fonts. If you skip it, your text might not cut properly or show up wrong when you upload your file.
Adding Bridges for Reversed Text
If you’re creating stencil-style designs with reversed text (where parts of letters like “O”, “P”, or “B” could fall out), you’ll need to add small bridges. Bridges keep those inner pieces, called “islands,” connected so they don’t get lost during cutting.
Here’s a quick way to add bridges in Inkscape:
- Use the Edit Paths by Nodes tool (press F2).
- Select the points on the inner shapes you want to connect.
- Draw small lines to link the islands to the outer letter shapes.
- Make sure these bridges are thick enough to hold but thin enough to keep the design clean.
Taking these steps ensures your text cuts accurately and stays intact, making your laser-cut projects look professional when using HYCNC’s services.
Designing for Specific Laser Cutting Projects
Creating Simple Shapes and Patterns
Start with the basics like rectangles, circles, and simple polygons—these are easy to draw in Inkscape and perfect for beginners. Use the shape tools in the toolbar to quickly create these forms. When planning parts that fit together, like assemblies or interlocking pieces, use Inkscape’s alignment and snapping features to keep everything precise and flush. This helps avoid gaps or misalignments in your final cut.
Incorporating Engravings
Laser cutting isn’t just about cutting through materials—it can also engrave surfaces. In Inkscape, you can assign different colors to indicate cuts and engravings:
- Cut Lines: Use black or a solid color for vector cuts.
- Engraving: Use red, green, or other colors for raster engraving settings.
This color coding lets the laser cutter know what parts to cut all the way through versus which to engrave lightly on the surface.
Using Reference Images for Complex Designs
For more detailed or artistic projects, you can import images into Inkscape and trace them to create vector paths. This is especially useful for architectural models or intricate patterns that are hard to draw from scratch. Use the “Trace Bitmap” feature under the Path menu to convert images into vector lines you can edit and cut.
For example, if you’re designing a custom sign or box template, bring in your original sketch or logo, trace it, and tweak the vectors to fit your material size and laser cutter bed. This combination of simple shapes, color-coded engraving, and traced images will give you a solid starting point for creating detailed and precise laser cutting projects.
Exporting Your Design for HYCNC Laser Cutting Services
Pre Flight Checklist
Before exporting your design, double-check these points to avoid delays:
- Make sure your design is at a 1:1 scale so the size matches the real product.
- Confirm there are no open contours—all shapes must be closed for clean cuts.
- Save your file in the correct format: DXF, EPS, or SVG, as these work best with HYCNC’s system.
- Remove any non-cutting elements like notes, hidden layers, or dimensions.
- Keep all cutting paths on a single layer to align with HYCNC’s processing standards.
Saving and Exporting Files
Follow these simple steps to export your file properly:
- Go to File > Save As and pick DXF or SVG format. These are widely accepted by HYCNC’s instant quoting system.
- When saving DXF, use the “Plain SVG” or “AutoCAD DXF R12” options for compatibility.
- For SVG, ensure your design contains only vector paths—no raster images.
- Double-check your file in Outline Mode (View > Display Mode > Outline) to spot any hidden errors like stray points or open lines.
Uploading to HYCNC
Using HYCNC’s platform is straightforward:
- Head to HYCNC’s upload page and select your saved file (DXF, EPS, or SVG).
- The system will give you a live quote based on your design and selected material.
- Choose your material from options like acrylic, wood, or metal to match your project needs.
- Submit your order with confidence knowing your file meets HYCNC’s requirements.
By following these steps, your design will be ready for smooth processing and fast production with HYCNC’s laser cutting services.
Tips for Optimizing Designs for HYCNC Laser Cutting
Material Selection
HYCNC offers a wide material catalog including acrylic, plywood, aluminum, and more. When picking materials, consider your project’s purpose and how the material behaves during cutting. For example:
- Acrylic works well for signs and decorative parts.
- Plywood is great for prototypes and structural pieces.
- Aluminum suits durable and metal projects.
Keep in mind minimum cut widths and hole sizes vary per material—usually the smallest hole should be at least 1.5 times the material thickness. Check HYCNC’s guidelines to avoid weak or burnt edges.
Testing and Prototyping
Doing test cuts is key for perfect results. It helps you:
- Adjust for material kerf (the burned area the laser removes, around 0.1 to 0.4mm).
- See how your design reacts to different thicknesses.
HYCNC supports fast prototyping so you can quickly tweak designs without long waits.
Scaling for Production
To save money and material:
- Arrange multiple parts efficiently on a sheet to reduce waste.
- Group small components tightly but with enough space for clean cuts.
HYCNC’s platform and services make bulk orders simple and cost-effective, perfect for small businesses looking to scale production without hassle.
Common Challenges and How to Solve Them
When designing for laser cutting in Inkscape, you might run into a few common issues. Here’s how to fix them and keep your project on track.
Fixing Vector Issues
- Open paths: Make sure all your shapes are closed contours. Use the Edit Paths by Nodes tool (F2) to find and join open nodes.
- Duplicate strokes: Check for overlapping lines or duplicates and delete extras. These can cause the laser to cut the same path multiple times, wasting material.
- Stray points: Remove any stray nodes or points that don’t form part of your design to avoid accidental cuts.
Troubleshooting Laser Cutter Compatibility
- Line thickness: Laser cutters like those at HYCNC require specific line widths to recognize cut paths, usually hairline (0.001 inch or 0.025 mm). Lines that are too thick might be treated as engravings or ignored.
- File formats: Ensure you export your design as SVG, DXF, or EPS as HYCNC’s laser cutters support these formats best. Avoid unsupported file types that can corrupt your design or lose detail.
- Color coding: Assign colors correctly—black lines for cutting, red or other colors for engraving. Miscoloring can cause errors during processing.
Adjusting Settings for HYCNC and Home Laser Cutters
- Check the canvas and scale settings in Inkscape to match your material size exactly (1:1 scale).
- Use HYCNC’s guidelines for minimum hole sizes and kerf compensation to fine-tune your design.
- If cutting at home, plugins like the J Tech Photonics Laser Tool can help generate compatible G-code.
Getting Support from HYCNC
If you’re stuck or unsure about your file, reach out to HYCNC’s support team. They offer file reviews and custom quotes to help you finalize your design without surprises. Getting early feedback can save time and material costs in the long run.
Staying proactive with these tips will keep your laser cutting projects smooth, whether for personal use or small business needs.