Understanding Laser Cutting Requirements for Text
When preparing text for laser cutting, it’s important to know exactly what laser cutters need to produce clean, precise results. First off, laser cutters require vector files with fully defined outlines. Unlike raster images, vectors provide clear paths for the laser to follow, cutting or engraving exactly where intended.
For text specifically, converting your font to outlines is crucial. This means turning your editable text into vector shapes so the laser can cut the letters accurately without any font issues. Another key element is creating bridges or “tabs” in letters with internal cutouts like O, B, A, and D. These bridges keep inner parts of letters from falling out once cut, which is critical for signage, jewelry, or decor where every detail counts.
There are common challenges you’ll face such as:
- Font compatibility: Not all fonts convert well into outlines. Complex scripts or thin fonts might create fragile or incomplete paths.
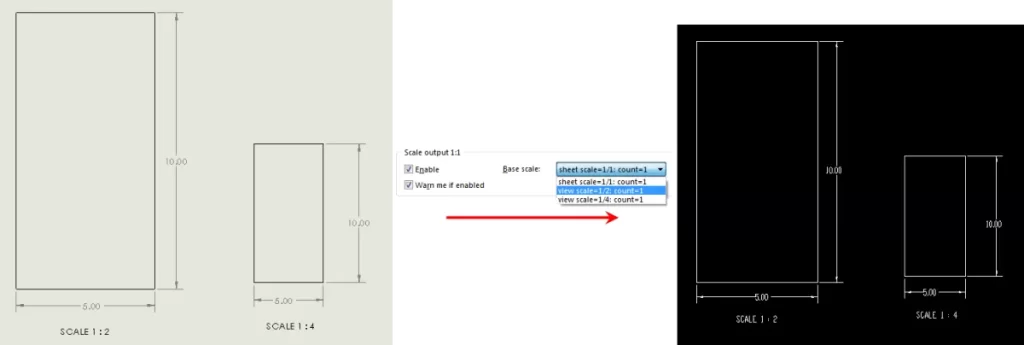
- Kerf: This is the width of material removed by the laser beam. You need to design with kerf in mind, especially for small or closely spaced letters, to avoid shrinking or merging.
- Internal cutouts: Letters with enclosed spaces require bridges to stay intact.
Finally, material thickness and minimum feature size should influence your text design. Thicker materials may need bolder fonts or wider bridges, while thin details risk burning away or breaking. Knowing the limits for your chosen material ensures your text looks great and holds up after cutting.
Getting these basics right sets you up for smooth, high-quality laser cutting with your Illustrator text files. For more on making small parts and precise cuts, explore best practices for designing and laser cutting small parts.
Step by Step Guide to Preparing Text in Adobe Illustrator

Step 1 Setting Up Your Illustrator Document
- Create a new artboard at a 1:1 scale using inches or millimeters—this ensures your design matches the actual size of your material.
- Set the document color mode to RGB since most laser cutters, including HYCNC’s, prefer RGB files for compatibility.
- Match the artboard size to your material dimensions to avoid sizing issues during cutting.
Step 2 Creating and Formatting Your Text
- Use Illustrator’s Type Tool to add your text.
- Pick laser-friendly fonts like stencil styles, bold sans serif, or other strong, simple fonts. These reduce the chance of thin cuts breaking.
- Adjust the font size and center the text on the artboard to fit your design space perfectly.
Step 3 Converting Text to Outlines
- Right-click your text and select Create Outlines (or go to Type > Create Outlines).
- This changes your text from editable font to vector shapes, which is essential for laser cutting since the machine reads paths, not font files.
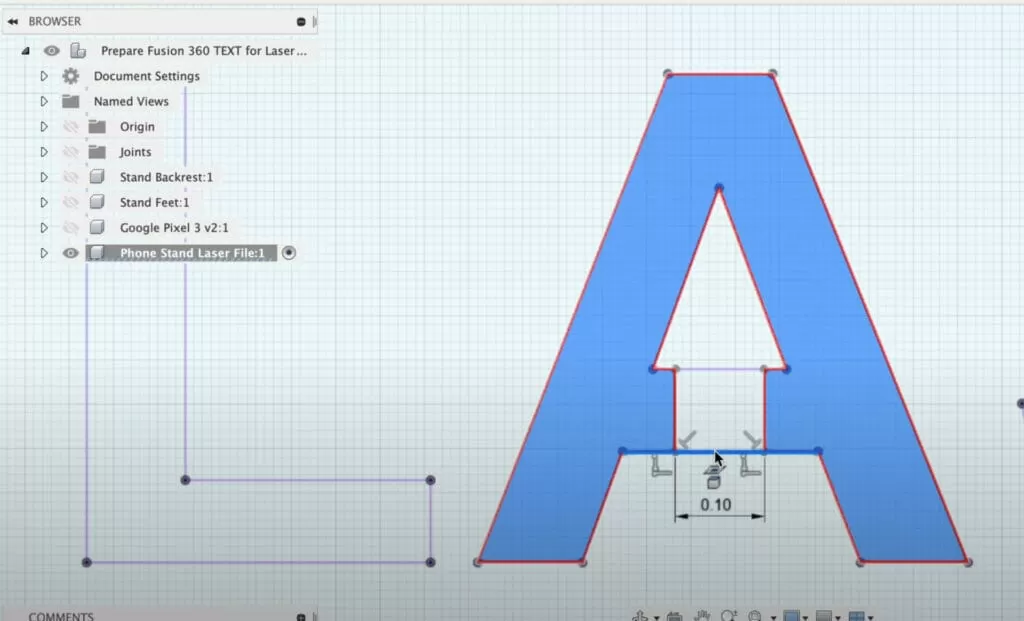
Step 4 Adding Bridges for Reversed Text
- Look for letters with internal cutouts like O, B, A, or P—these “holes” will fall out if not connected.
- Add small bridges manually using the Pen Tool or choose stencil fonts that include built-in bridges. These bridges keep the inner parts connected during the cut.
Step 5 Checking for Open Contours and Stray Points
- Switch to Outline mode by pressing Ctrl + Y to clearly see all paths.
- Use the Pathfinder tool to merge overlapping shapes and remove any duplicate lines or stray points that can confuse the laser cutter.
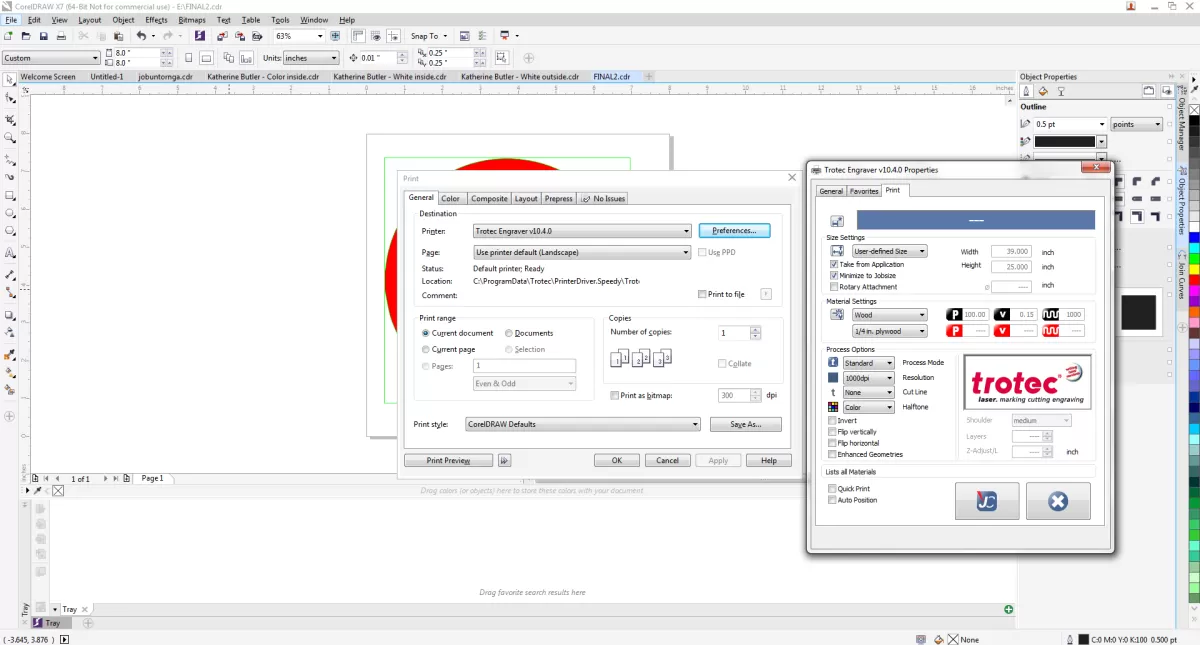
Step 6 Exporting Your File for Laser Cutting
- Save your work in formats accepted by HYCNC like AI, DXF, EPS, or SVG.
- Make sure all objects are consolidated into a single layer for easier processing.
- Double-check your scale and set the stroke width to something like 0.1 pt to specify cut lines precisely.
Following these steps will ensure your text design is laser-ready and set for smooth processing at HYCNC. For more on designing for laser cutting in Illustrator, check out this guide on designing for laser cutting in Illustrator.
Best Practices for Laser Cutting Text
When preparing your text for laser cutting in Illustrator, keep it simple and bold. Thin or intricate fonts can cause weak cuts or even damage your material, so choose strong, easy-to-cut fonts like bold sans serif or stencil styles.
Always factor in the laser kerf, which is the small amount of material the laser burns away during cutting. This affects the final size of your letters, so you need to leave extra space or adjust your design to prevent your text from looking smaller or gaps from being too wide.
Before committing to your final project, test your design on scrap material. This helps you catch any scaling issues, loose parts, or unexpected results without wasting your actual material.
Avoid common mistakes like:
- Leaving text unconverted (not creating outlines)
- Forgetting to ungroup objects, which can cause cuts to happen in the wrong order or fail
- Overlapping paths that confuse the laser cutter
Following these best practices will save you time, material, and headaches when laser cutting your text designs.
HYCNC Tips for Success
At HYCNC, we focus on precision and quality when laser cutting your text designs. We understand that every detail counts, so we use advanced CNC laser cutting machines that handle your vector files with great accuracy, ensuring crisp, clean cuts every time.
Supported File Formats and Materials
We accept a wide range of file formats for laser cutting, including AI, DXF, EPS, and SVG. This flexibility helps you submit your designs easily without worrying about complicated conversions. Plus, we work with various materials like wood, acrylic, steel, and more, giving you plenty of options depending on your project’s needs.
How to Upload Your File for an Instant Quote
Getting started with HYCNC is simple. Just upload your prepared file through our online platform, select your material and thickness, and you’ll receive an instant quote. This streamlined process saves you time and helps you get your laser cutting project off the ground faster.
For more details on file preparation, check out our post on designing for laser cutting in Illustrator to make sure your text files are ready to go.
Troubleshooting Common Issues
When preparing your text for laser cutting in Illustrator, running into problems is pretty common. Here’s how to tackle some frequent issues:
Fixing Open Contours or Stray Points
- Switch to Outline mode (Ctrl + Y) to spot any open paths or extra anchor points.
- Use the Pathfinder tool to merge overlapping shapes and close gaps.
- The Join tool or Pen tool can help close open contours manually.
- Remove stray points by selecting them and hitting delete to avoid unwanted cuts.
Adjusting for Material Specific Requirements
- Different materials like acrylic and wood have unique cutting behaviors. Acrylic often needs smoother, cleaner cuts, so thin lines might burn or chip, while wood can handle slightly thinner details.
- Increase stroke weight or simplify your design for materials that are prone to burning or splintering.
- Account for laser kerf (the width of material removed) by slightly enlarging or adjusting your design, especially text with small details.
Handling Fonts that Don’t Convert Well to Outlines
- Some fonts, especially decorative or script styles, don’t translate smoothly into vector outlines and can create messy paths.
- Use laser-friendly fonts like bold sans serif or stencil fonts to avoid complex shapes.
- If your font doesn’t convert well, try recreating problem letters with simple shapes or switch to a more reliable font.
- Avoid using effects like shadows or gradients before converting to outlines; keep your artwork clean and straightforward.
By addressing these common issues early, your Illustrator file will be ready for a smooth laser cutting experience. For more detailed advice on laser cutting techniques, check out HYCNC’s guide on laser cutting basics.
FAQs
What are the best fonts for laser cutting
Bold, simple fonts work best for laser cutting. Think stencil fonts or thick sans serif styles. They hold up well against the laser kerf and prevent fragile or detailed areas from breaking.
Why do I need to convert text to outlines
Converting text to outlines turns your font into vector shapes. This is crucial because laser cutters read paths and shapes—not font files—so it ensures accurate cutting with no surprises from missing fonts.
How does laser kerf affect text designs
Laser kerf is the width of material the laser removes during cutting. It can make thin lines or small text smaller or even disappear, so you need to design with kerf in mind, using thicker letters and adding bridges where needed.
Can HYCNC help with file preparation if I’m new to Illustrator
Yes! HYCNC offers guidance on preparing your files and can review your artwork to make sure it’s ready for laser cutting. They want to make the process smooth, especially if you’re just starting out.
What file formats does HYCNC accept for laser cutting
HYCNC accepts common vector formats like AI, DXF, EPS, and SVG. These ensure your text and designs are crisp and compatible with their laser cutting machines.