Why Proper File Export Matters for Laser Cutting
Have you ever spent hours designing in Adobe Illustrator only to find your laser cutting results don’t match your expectations? It often comes down to how the file is exported. Proper file export is critical for laser cutting because the machine reads your design exactly as it’s saved. If the file isn’t prepared and exported correctly, you risk issues like inaccurate cuts, missed details, or wasted materials.
Laser cutting relies heavily on precise vector paths, correct scale, and clear layer separations. Without a clean export, your design might get distorted, lines could be misinterpreted, or essential elements might be lost. This can lead to costly delays and frustration, especially when working on tight deadlines or with expensive materials.
By understanding how to properly export your Adobe Illustrator files for laser cutting, you ensure smooth communication between your design and the laser cutter. This translates to sharper cuts, accurate dimensions, and an overall better finished product. Whether you’re preparing vector files for laser cutting for the first time or aiming to improve your workflow, mastering this step is essential for success.
Setting Up Your Adobe Illustrator File for Laser Cutting
Getting your Adobe Illustrator file ready for laser cutting means setting it up the right way from the start. Here’s how to make sure your file is spot-on for the laser cutter.
Choose the Right Document Settings
Start by picking the correct document size that matches your material or job specs. Use RGB color mode because most laser cutting software reads colors better this way when assigning different cutting or engraving tasks. Also, set the units to inches or millimeters depending on what your shop prefers — this helps avoid confusion later.
Design with Vector Paths
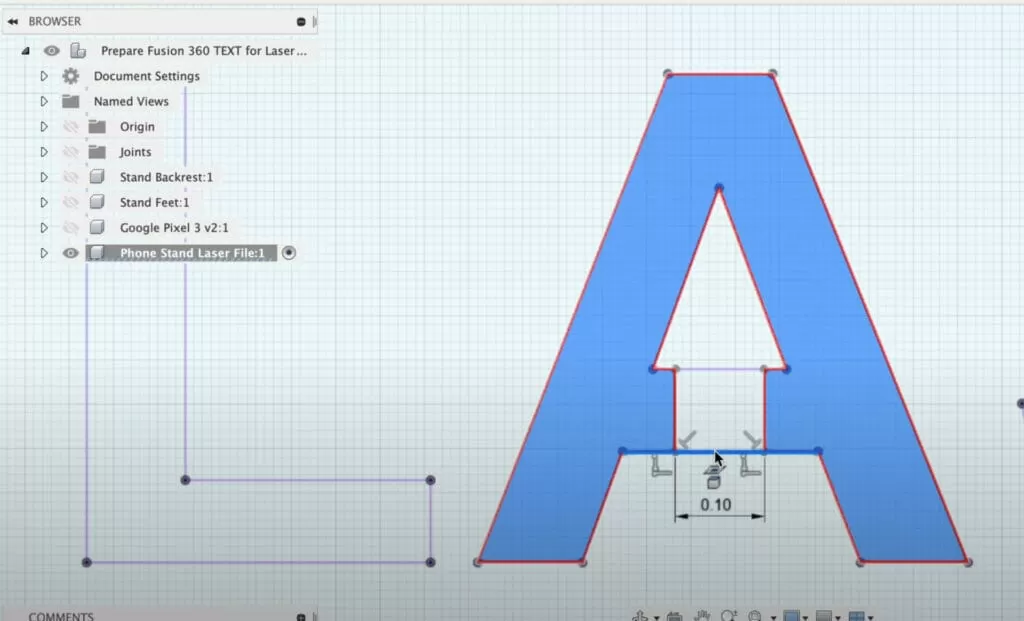
Laser cutters need clean, vector paths to follow. Avoid any raster images or effects like shadows or gradients—they won’t cut well. Keep all designs as pure vector shapes using the Pen Tool, shapes, and lines. Also, convert text to outlines to prevent any font issues.
Check Scale and Dimensions
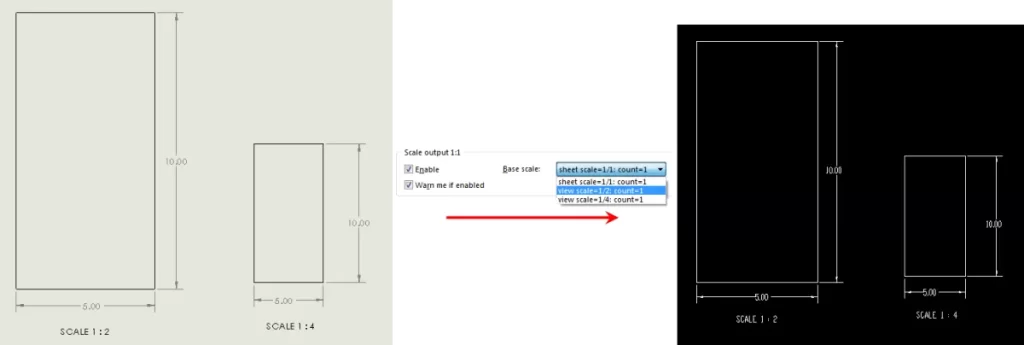
Verify your design is exactly the right size. Laser cutting is precise, so double-check the dimensions in Illustrator. Use the Transform panel to confirm the size matches your material. Scaling incorrectly leads to wasted material and extra costs.
Organize Layers and Colors
Keep your file tidy by organizing elements by layers and colors. Assign different colors or layers to separate between cutting, engraving, and scoring lines. This makes it easier for the laser operator to adjust settings for each job part without confusion.
Setting your file up with these steps ensures a smooth laser cutting process from Illustrator to the machine.
Step-by-Step Guide to Exporting Files for Laser Cutting
Step 1 Review Your Design
Before exporting, double-check your design in Adobe Illustrator. Make sure all your vector paths are clean, closed, and there are no overlapping lines or stray points. Convert any text to outlines to avoid font issues during cutting. Confirm that your design is at the correct scale and dimensions needed for your laser cutting project.
Step 2 Save as a Native AI File
Always save your file as a native Adobe Illustrator (.AI) format first. This keeps all your layers, paths, and settings intact and is the preferred format for many laser cutting services. Saving as AI ensures your file preserves its vector quality, crucial for precise laser cutting.
Step 3 Alternative Formats If Needed
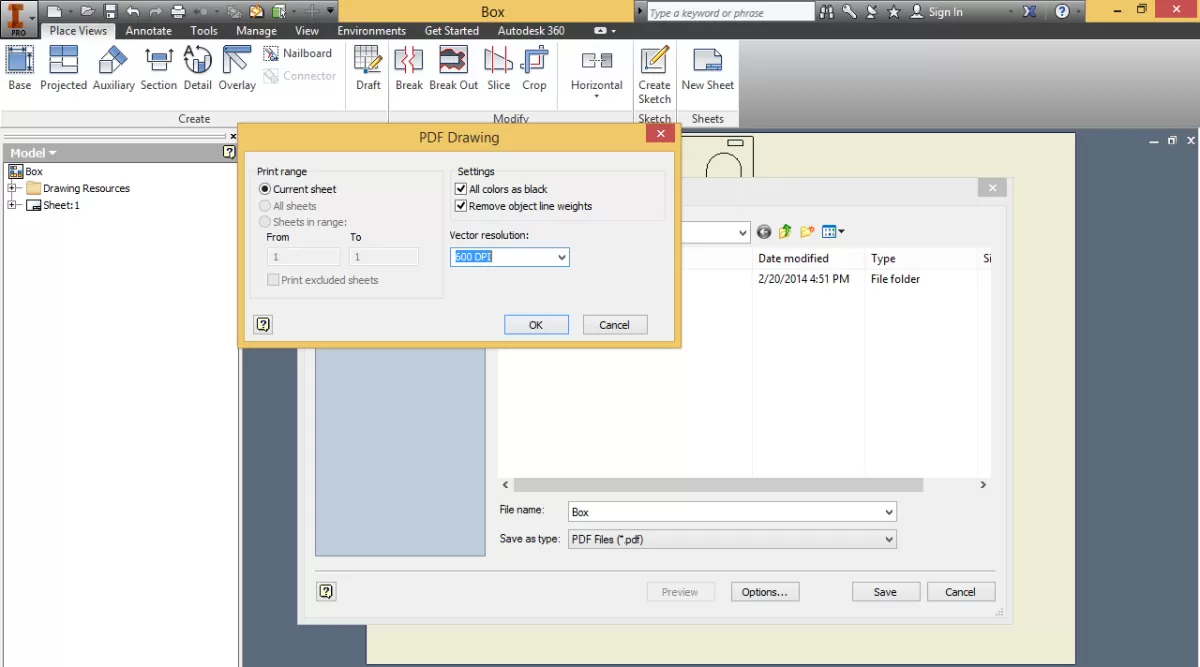
If your laser cutter requires other file formats, consider exporting your design as a DXF, PDF, or SVG. These formats are widely accepted for laser cutting and CNC machining. To export:
- Go to File > Export > Export As
- Choose your preferred format
- Make sure to select options that keep the design as vectors and preserve layers if possible.
Step 4 Verify the File
After saving, open your exported file in a vector viewer or CAD software to check everything looks right. Verify that the scale, paths, and line colors match your original design. This step helps prevent common errors before sending your file off for laser cutting.
For more tips on preparing vector files for laser cutting, check out our guide on best practices for designing and laser cutting small parts.
Common Mistakes to Avoid When Exporting for Laser Cutting
When exporting your Adobe Illustrator file for laser cutting, skipping some simple steps can cause costly errors. Here are the most common mistakes to watch out for:
Not Converting Text to Outlines
Leaving text as live fonts can cause missing or incorrect characters. Always convert text to outlines to ensure your design cuts accurately.
Using Raster Images Instead of Vector Paths
Laser cutting requires clean vector paths. Avoid including any raster images or effects like gradients—they won’t cut properly.
Incorrect Scale or Dimensions
Make sure your design is sized correctly before exporting. Laser cutters work off exact measurements, so check your artboard units and final dimensions carefully.
Overlapping or Unclosed Paths
Open or overlapping vector paths can confuse the laser cutter, leading to incomplete cuts. Double-check that all paths are closed and don’t overlap improperly.
Ignoring Layer or Color Setup
Laser cutters often rely on color to differentiate between cutting and engraving. Not organizing layers or setting stroke colors properly can result in missed or wrong operations.
Exporting in the Wrong File Format
Not all formats work for laser cutting. While AI files are standard, some machines require DXF or SVG. Confirm with your service provider what format they need.
Not Testing the File Before Sending
Always open your exported file in another program or preview it to catch any errors before submission.
Avoiding these mistakes can save you time, frustration, and extra costs. For more help with text before export, check out preparing your text for laser cutting in Illustrator.
How HYCNC Simplifies Your Laser Cutting Process
HYCNC takes the hassle out of laser cutting by handling your Adobe Illustrator files with precision and care. Whether you’re exporting .AI files for CNC machining or need help preparing vector files for laser cutting, HYCNC makes sure your designs are production-ready.
Here’s how they make your life easier:
- File Compatibility Check: HYCNC reviews your Adobe Illustrator laser cutting files to ensure everything meets their CNC service standards.
- Expert Vector Optimization: They fix common issues like unclosed paths or improper layers, so your design cuts clean every time.
- Flexible File Format Support: If you’re unsure about exporting your files, they accept multiple laser cutting file formats and can guide you on the best format for your project.
- Precise Scaling and Setup: HYCNC ensures your design’s scale and dimensions are accurate, preventing costly mistakes.
- Fast Turnaround: With their streamlined process, you get your laser cut pieces quickly and reliably.
Working with HYCNC means you don’t have to worry about the technical side of exporting files from Adobe Illustrator for laser cutting. They bridge the gap between design and manufacturing, giving you peace of mind and top-quality results every time.
FAQs About Exporting Illustrator Files for Laser Cutting
Q1: What file format should I export from Adobe Illustrator for laser cutting?
The best format is usually the native .AI file because it keeps vector paths intact. If your laser cutter requires it, you can also export as a DXF or SVG file. Always check with your laser cutting service for their preferred formats.
Q2: How do I make sure my design is the right size for laser cutting?
Set your document units to inches or millimeters before starting your design. Double-check your artboard size and use the Illustrator rulers to verify dimensions. Always confirm scale with your laser cutter.
Q3: Should I convert text to outlines before exporting?
Yes. Converting text to outlines prevents font issues when your file opens on another computer or at the laser cutter. It ensures your text cuts exactly as designed.
Q4: Can I use raster images for laser cutting?
Most laser cutters only cut vector paths, so raster images like JPG or PNG won’t work. Convert your design to vector shapes or use tracing tools to prepare vector files for laser cutting.
Q5: How do I organize layers and colors for laser cutting?
Organize different cutting and engraving elements on separate layers or by stroke color. This helps the laser operator set the right cutting order and power settings.
Q6: What common export mistakes should I watch out for?
Leaving text unconverted
Using raster images instead of vectors
Incorrect scale
Missing open or overlapping paths
Exporting at the wrong file format
Q7: How does HYCNC help with laser cutting file preparation?
HYCNC offers guidance to prepare your Illustrator files correctly, handles format conversions, and ensures your designs are ready for flawless CNC machining and laser cutting.
If you keep these tips in mind, exporting from Adobe Illustrator for laser cutting can be smooth and error-free. Feel free to reach out to your laser cutting service or HYCNC for help if needed.